Despite being one of the best beginner-friendly e-commerce platforms, Shopify can overwhelm you with its flexibility and endless options. In this Shopify setup tutorial, we’ll walk you through how to create your first online store from start to finish using the best way to learn Shopify.
Step 1: Start Your Free Trial
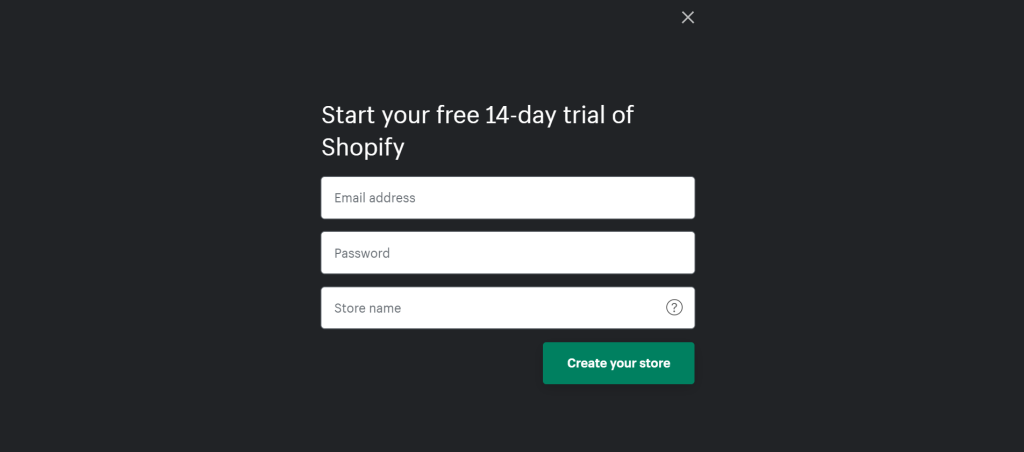
First, head to Shopify.com and start your free trial to create an account. You’ll be prompted to enter your email address, a password and the name of your store — if you don’t have a name for your store just yet, don’t worry — just enter a placeholder for now.
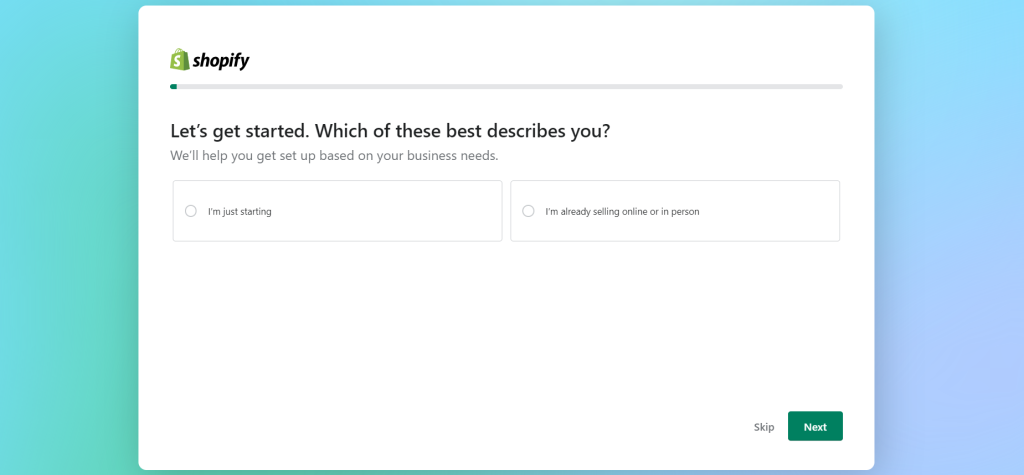
You’ll be asked to answer some questions about your business. You can choose to skip or answer the questions for a more optimal experience. Either way, you’ll be able to freely change Shopify’s settings once you’re in the dashboard.
Step 2: Navigating the Dashboard
When you first login you’ll be taken to the dashboard. Take this time to look around and familiarise yourself with the options available. The sidebar on the left is how you’ll navigate to the different sections to manage your business.
Shopify also provides a handy 6-step checklist in the middle of your dashboard to help you get started. But before we start knocking out those steps, first navigate to settings which can be found on the bottom left of the dashboard.
Once you’re inside settings, start filling in the general details of your store like the address, contact information, currency, standards and formats. You can also change the name of your store in the basic information tab.
Step 3: Choosing a Theme
Now that your general store settings are covered, it’s time to choose the look of your store. Follow these steps to select a theme:
- Navigate to “Online Store” from the sidebar
- Scroll down to “Theme Library” and click on “Explore Free Themes”
- Pick one that best fits your desired look and business
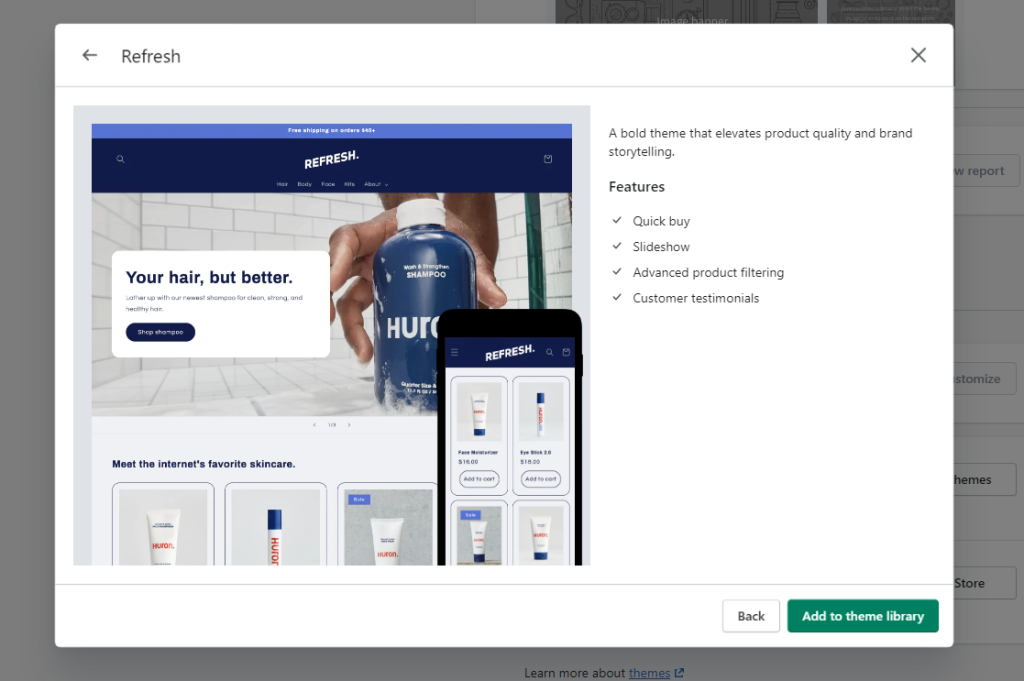
Shopify has both free and paid themes for a variety of industries like retail, restaurants and so on. When you select a theme, Shopify will show you a list of features available. Choose the features that best suit your business, like a quick buy button if you’re selling products. While we’re starting with a free theme for this tutorial, you can always switch to a paid theme in the future should you wish to do so.
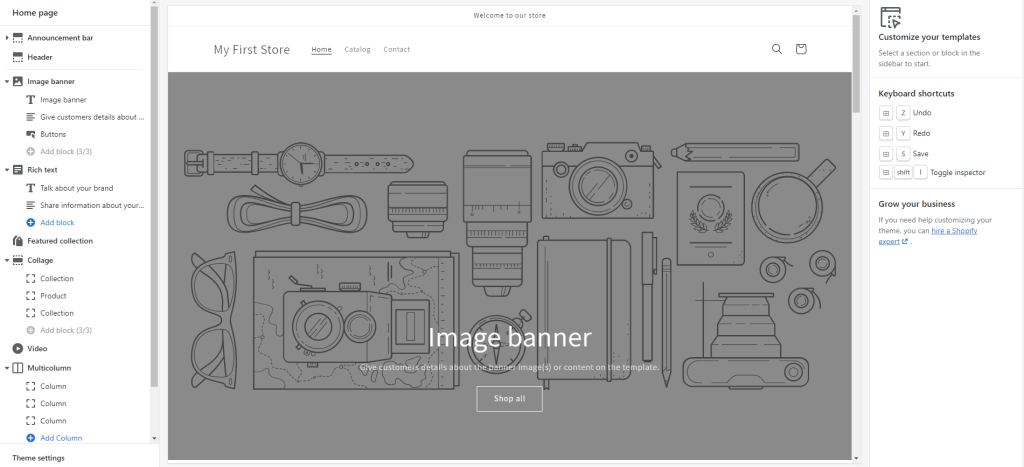
Now that you’ve selected your theme, click “Customise” and you’ll be taken to the editor. Don’t worry if you’ve never designed a website before, Shopify is intuitive enough for first-timers to figure out.
Shopify allows even beginners to easily learn how to set up their ecommerce store.
Once you’ve opened the editor, you’ll see something like the image above. Let’s get you oriented.
Left sidebar: Sections you can select to make edits or drag and drop to re-order
Centre section: Live preview of how the page will look.
Right sidebar: Advanced edits for your selected section
Bottom left: Theme settings to change base colours and fonts
Remember that your store doesn’t have to look perfect before it goes live, so don’t get too caught up in the small details during the design phase!
Step 4: Add Products and Sales Channels
Now that you’ve got your website theme sorted, it’s finally time to start adding products.
To add products to your Shopify store, simply:
- Navigate to “Products” on the left sidebar
- Click on “Add your products” in the middle of the screen
- Fill out the form with your product name, product description and other necessary details
- Upload images or videos of your product
- Hit save
Here are some additional tips you can use when adding your products:
- Tick “This product has options, like size or colour” if you’re selling a product like bunk bed with multiple variants
- Untick “This is a physical product” if you are selling a digital product or service
- Set up Collections to group similar products
Now, if you’re planning to sell on multiple platforms such as social media or e-commerce marketplaces, Shopify has a useful feature called Sales Channels to help you manage all of your platforms from your website.
Simply add the relevant channels to your store, and Shopify will guide you through the set-up process. If your sales channel is not in the default list provided by Shopify, you can search for it in the Shopify app store.
Step 5: Set Up Your Legal Pages
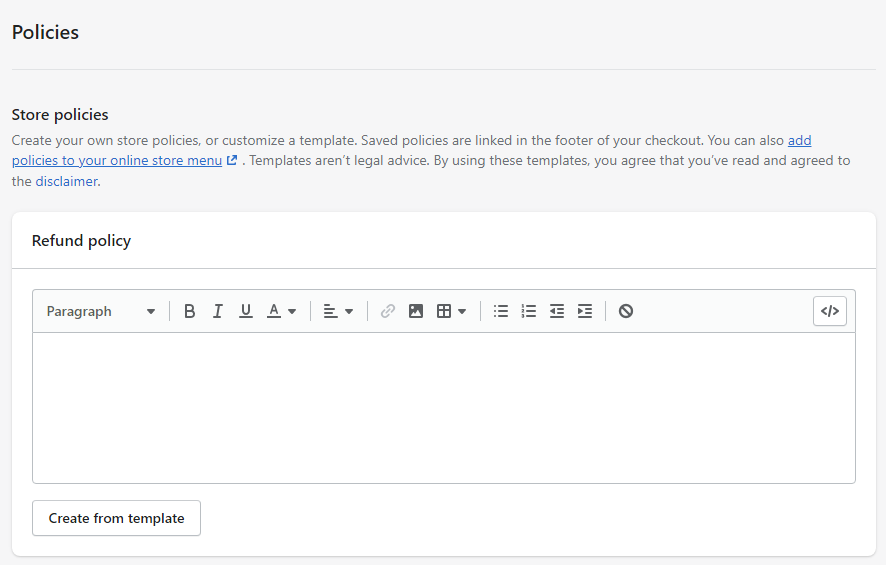
Legal pages are policies that protect your business and set clear rules to help settle any customer disputes. To edit your legal pages, go to your store settings and click on the “Policies” tab. Don’t worry if you’re not familiar with legal language, Shopify provides handy templates you can use.
Shopify gives you the option to include these store policies by default:
- Refund policy
- Privacy policy
- Terms of service
- Shipping policy
Refund policies are one of the most important items a customer looks at before they decide if they want to buy from you or not, so it is crucial that you have a policy that makes sense for the customer and your business.
Consider the following to help craft a good refund policy:
- Which items are eligible for return and exchange
- Which items are not eligible for return and exchange, e.g. opened bird nest drink
- How long a customer has to make a return/exchange
- In what condition can products be returned
Step 6: Set Up Shipping
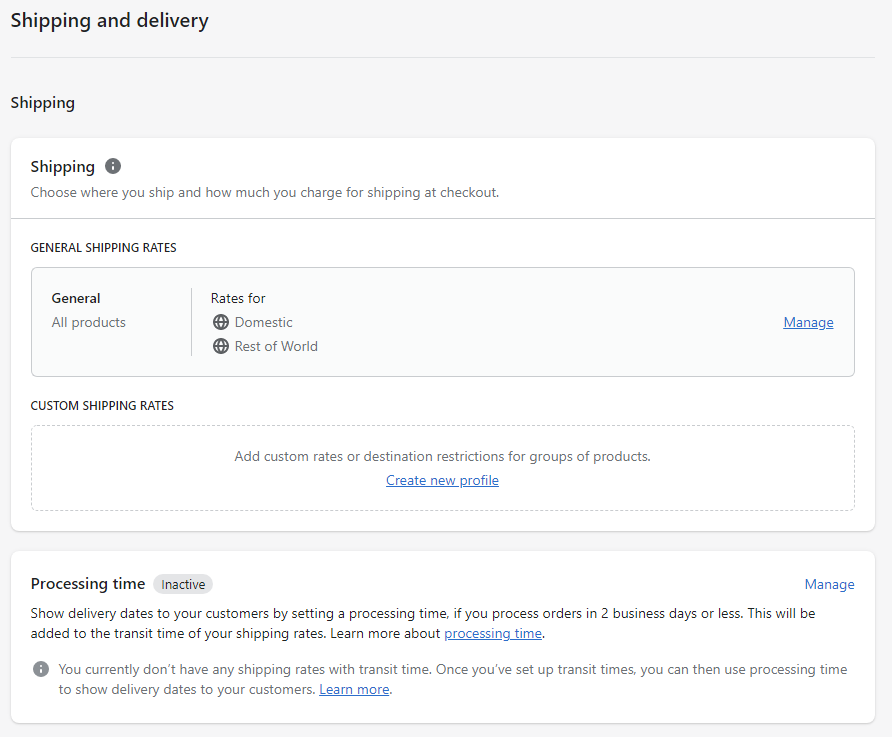
Click on “Settings” on the bottom left of the left sidebar, then find the section titled “Shipping and Delivery”. You can set your shipping rates for domestic and rest of world deliveries here. You will also be able to set local pickup locations, add package sizes, save packing slip templates and calculate shipping rates from third-party logistics providers.
Step 7: Set Up Payment Options and Taxes
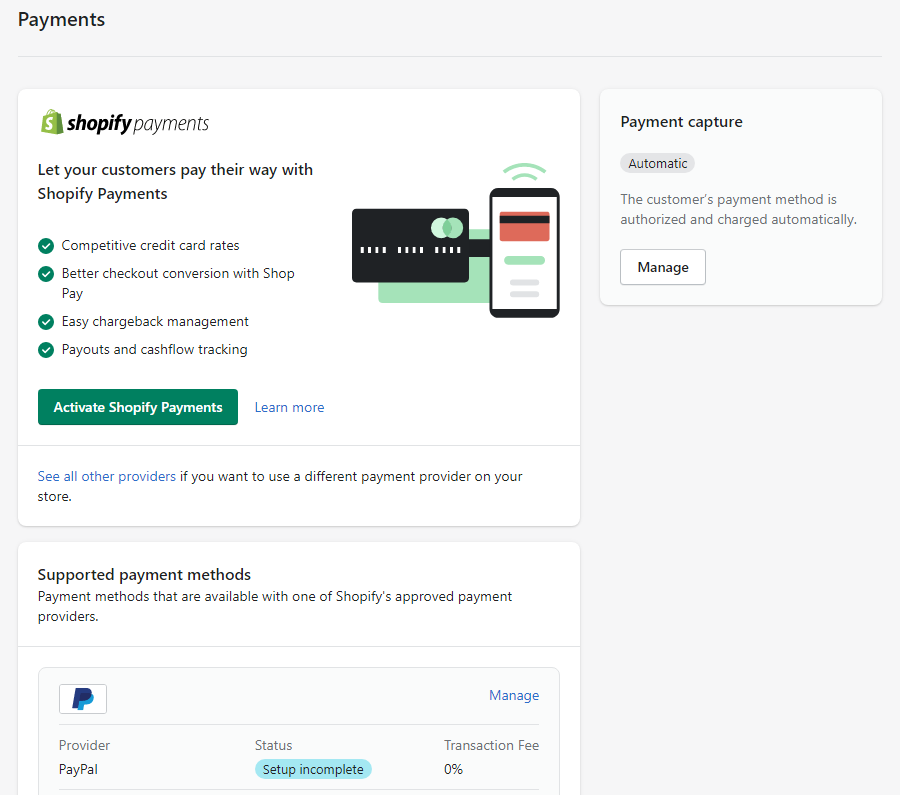
Once you’ve got your products, shipping and return policies sorted, it’s time to give customers a way to purchase your products. Go to “Settings” on the bottom left of the left sidebar, and navigate to “Payments”.
Shopify provides three payment options to choose from:
- Shopify Payments (Visa, Mastercard, American Express debit and credit cards)
- Supported third-party payment providers (PayPal, Google Pay, PayNow etc.)
- Manual payment methods (Bank Deposits, Cash on Delivery)
Select the payment method you wish to include, and follow the on-screen instructions.
While you’re setting up payment options, you’ll also want to navigate to “Taxes” and fill up the fields accordingly.
Step 8: Set Up Your Website Domain
We’re almost ready to publish your online store! Before we do so, you’ll need to set up a custom domain.
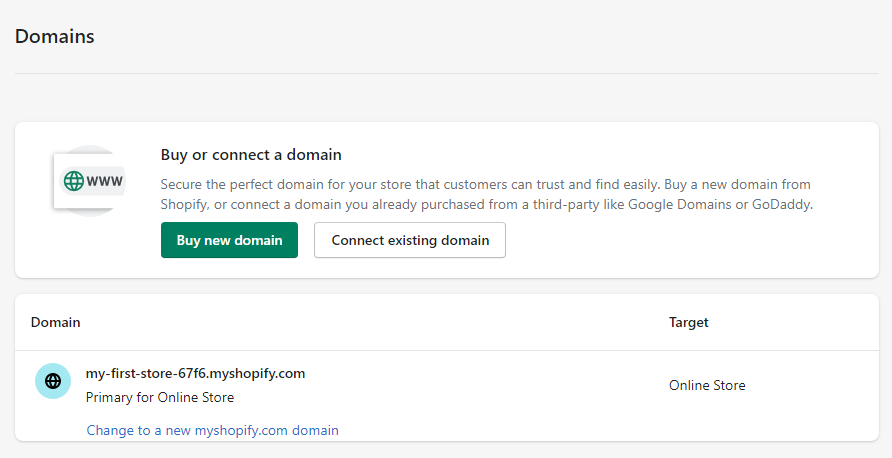
By default, the domain for your store is “.myshopify.com”, which was generated when you signed up for Shopify. You’ll want to purchase a domain name to make it easier for customers to enter your URL and make your store appear more credible.
To set up your custom domain, click on “Settings” on the bottom left of the left sidebar and find the “Domains” tab.
There are three ways you can go about getting a custom domain:
- Buy a new domain from Shopify
- Buy a new domain from third-party providers like GoDaddy
- Transfer an existing domain
Which option you choose depends on how much you’re willing to pay and your business needs. Beginners might find it easier to purchase a domain from Shopify to have all their website management consolidated on one platform.
Step 9: Choose Your Shopify Plan
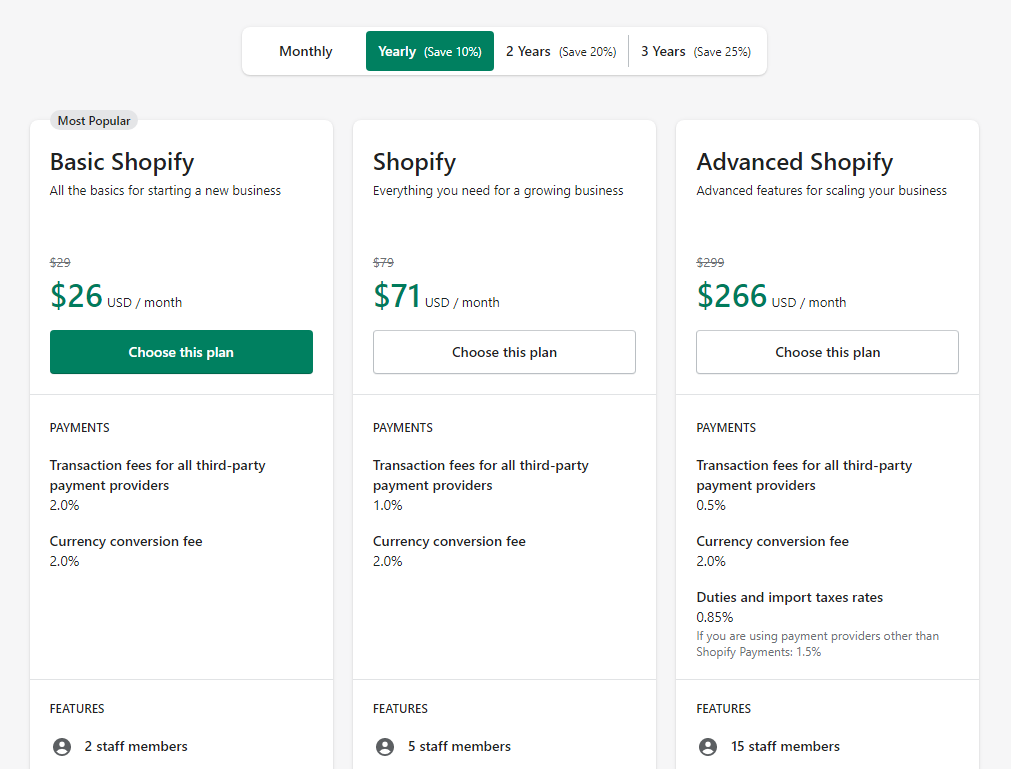
Before you can publish your online store, you’ll need to select a Shopify plan. The 14-day trial allows you to build your store, but you’ll need to subscribe to a paid plan in order to receive sales.
There are three categories of Shopify plans:
- Basic Shopify ($29 usd/mth, 2 staff accounts)
- Shopify ($71 usd/mth, 5 staff accounts)
- Advanced Shopify ($266 usd/mth, 15 staff accounts)
The basic Shopify plan is generally recommended for smaller businesses. Higher tier plans add more accounts and advanced reporting features.
To view the Shopify plans in more detail and subscribe to one, just follow these steps:
- Click on “Settings” in the bottom left corner of the left sidebar
- Click on “Plan” in the settings menu
- Add your chosen Payment Method
- Click on “Choose Plan”
Step 10: Going Live
Once you have chosen a Shopify plan, you’re finally ready to go live in just a few steps!
Before you do so, make sure you go through Shopify’s general checklist which gives you a rundown of important items you should test to ensure your website is operating as intended. This includes testing transactions, refunding orders and going through pages to ensure there are no 404s.
Once you’re ready to go live, follow these steps:
- Go to “Preferences” under “Online Store” on the left sidebar
- Scroll down to the section labelled “Password Protection”
- Uncheck “Enable Password”
- Click “Save”
Congratulations! You’re now the proud owner of a live Shopify store. Now that you have a functioning online store, you can explore ways to promote and manage it.
Bonus Step: Promoting Your Store
Once your online store is launched, you need to attract customers to shop with you. You can improve your store’s visibility by adding in information that’ll be used by search engines and making use of Shopify’s in-built marketing and analytic tools.
Explore these ways to promote your online store:
- Browse Shopify Apps to extend your website’s functionality
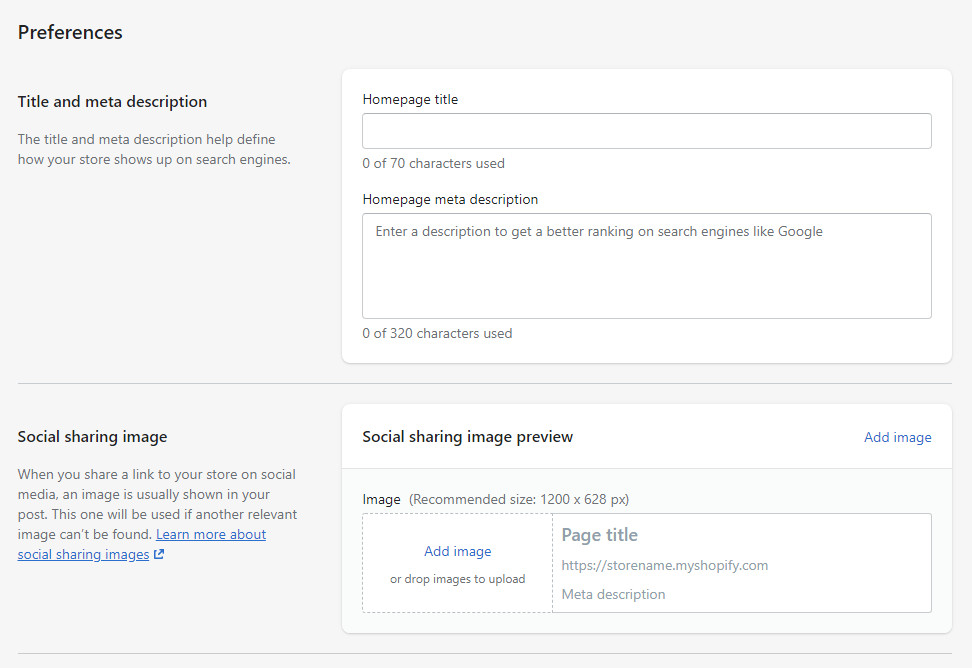
- Define your Homepage title and Meta description to improve SEO
- Link your Shopify store to Google Analytics and Facebook Pixel
- Monitor “Analytics” on the left sidebar to see which areas can be improved
- Explore “Discounts” on the left sidebar to entice customers with discounts and promotions
- Explore “Marketing” on the left sidebar to create multi-channel marketing campaigns
Learn How to Setup Shopify from Experts at FirstCom Academy
We hope that this step-by-step article on how to set up and manage a Shopify store has been useful to you. If you prefer to learn in-person rather than read an article, why not sign up for FirstCom Academy’s 2-day Shopify course?
The course is ideal for anyone who wants to learn how to use Shopify to set-up and run a successful online store. Learn from industry-vetted and ACTA/ACLP-certified trainers who will guide you on how you can use Shopify to create your own online store that follows industry best practices. And because the course is conducted in-person, you can get immediate answers to your questions by an expert with real-world experience.
Visit our web design courses or Shopify course page to sign up and book your slot today!
Frequently Asked Questions:
Should I take a Shopify course to learn?
Taking an in-person or online Shopify course can shortcut your learning curve tremendously through expert instruction. This is recommended.
What should a beginner focus on when starting to learn Shopify?
As a beginner, focus on setting up your store's core areas first - themes, products, shipping, payments. Learn through doing and use support when stuck.
How long does it take to learn Shopify?
Most people can learn the Shopify basics in 1-2 weeks through consistent practice. Mastering advanced functionality may take 1-2 months for less technical people.
What resources can help me learn Shopify?
Useful resources include the Shopify Help Center, Shopify blogs, online courses, YouTube tutorials, the Shopify App Store, and joining Shopify Facebook groups.
Should I learn Shopify or WordPress first?
Shopify generally has a gentler learning curve for ecommerce beginners. However, learning WordPress offers more customization and control if you can invest more time.
Read also:
